
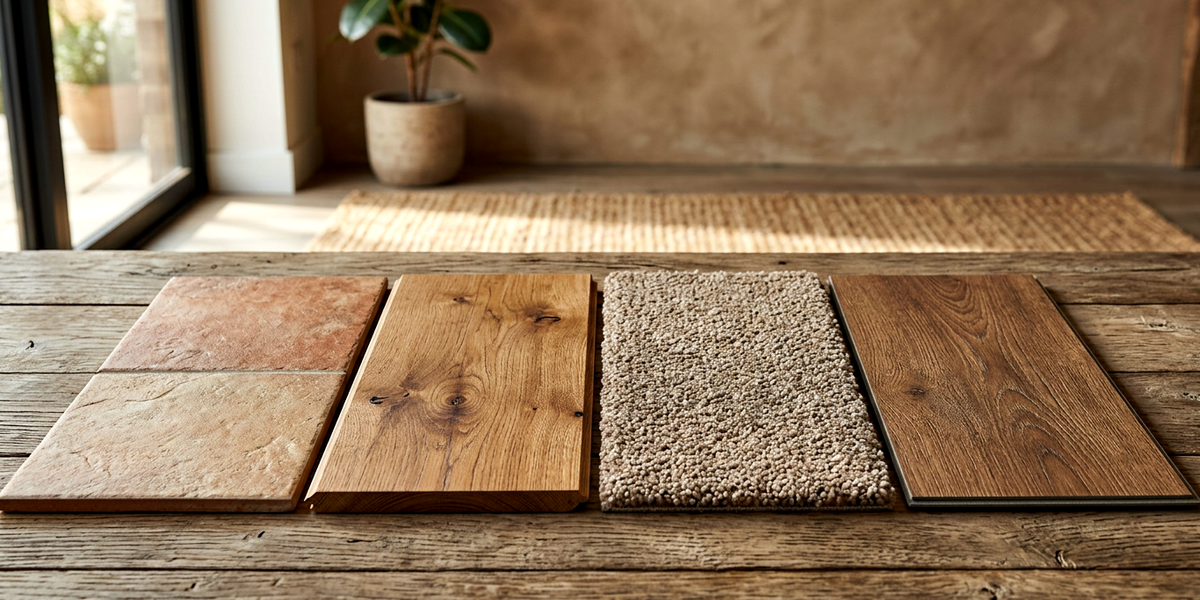
A floor can look beautiful in a showroom and still be the wrong choice for your household. The best finishes for a whole home renovation suit your routines, work together across rooms and fit the full project budget.
Your choices affect daily comfort, cleaning, indoor air quality and installation costs, as well as appearance. At UPPERAVENUE Construction Inc., we help connect finish selections with design and construction planning for a whole-home project.
Start with how you use your home, then choose materials that support those needs.
Key Takeaways
- Choose finishes based on how each room is used, the upkeep you’re comfortable with and your household’s priorities.
- Budget for removal, surface preparation, delivery and installation, and confirm what finish allowances include in a written quote.
- Coordinate samples, colours and transitions across shared spaces while choosing room-specific materials for kitchens, bathrooms and basements.
- Consider low-emission or low-VOC products, ventilation and curing instructions when planning indoor air quality and room access.
- Record product details, locations and installation requirements in a finish schedule before ordering or construction begins.
How to choose the best finishes for a whole home remodel
Choosing finishes separately can leave you with competing colours, awkward transitions or expenses that crowd out necessary work. Instead, establish a shared direction for the home before selecting individual products.
That direction should cover the appearance of your materials, practical needs and spending priorities. It also needs room for preparation work, because the surface beneath a finish affects how it can be installed.
Set priorities before choosing colours and materials
Write down who uses each room and what happens there. An entryway that collects wet boots needs different consideration than a guest bedroom. Likewise, a kitchen used for daily cooking has different cleaning demands than one used mainly for occasional meals.
Next, identify the upkeep you’re comfortable handling. Consider whether you’ll accept periodic sealing, visible fingerprints or special cleaning products. A finish’s care requirements belong in the selection process, alongside its colour and texture.
Gather a small group of reference images, then identify what you like about them. Warm wood, simple trim and muted colours give a clearer direction than a broad style label.
Health Canada’s chemical safety guidance for renovations also recommends considering products labelled low emission or low VOC. Include that preference in your priorities early.
Build a finish budget and confirm what the quote includes
A material’s purchase price is only part of its installed cost. Removal, surface preparation, delivery and installation can all affect the project budget. Ask whether a site inspection is needed to confirm the underlying surface before flooring is ordered.
Discuss these details in a written, project-specific quote. It should identify any required preparation and, where finish allowances apply, what they cover and how selection differences affect the total. Selections may also require decisions about underlay, transitions and changes to adjacent trim.
Keep sourcing responsibilities clear, too. If you purchase a fixture or finish yourself, the construction plan still needs its dimensions, installation requirements and delivery date.
Reserve room for necessary preparation rather than committing everything to visible surfaces. When spending priorities compete, protect the work required for proper installation before upgrading decorative selections. This gives each selection a place within the overall renovation scope.
Choose finishes that suit each room and still feel connected
A coordinated home doesn’t need the same materials everywhere. Repeating a wood tone, trim profile or colour family can create continuity while allowing each room to meet different needs.
Begin with the spaces you see together. The kitchen, living room and hallway may share several sightlines, so review their selections together. Bedrooms and bathrooms can have more variation without disrupting that shared direction.
Coordinate flooring, paint and trim across shared spaces
Compare flooring, paint, cabinetry and trim samples together rather than approving each in isolation. A white paint can appear warmer or cooler beside different woods and tiles. Sheen also changes how a surface reflects light.
Place samples in the rooms where they’ll be used. Review them during daylight and under your evening lighting, because both affect their appearance. Hold wall samples vertically and flooring samples horizontally to judge them in their intended positions.
Then consider where materials meet. Doorways, stairs and open-plan boundaries need deliberate transitions, particularly when flooring thicknesses differ. Include those junctions in the installation plan rather than treating them as finishing touches.
Trim deserves the same attention. Consistent baseboard and door-casing profiles can connect rooms even when their wall colours vary. However, retained trim and new flooring may require adjustments, so include those interfaces in the scope.
Match kitchen, bathroom and basement finishes to daily use
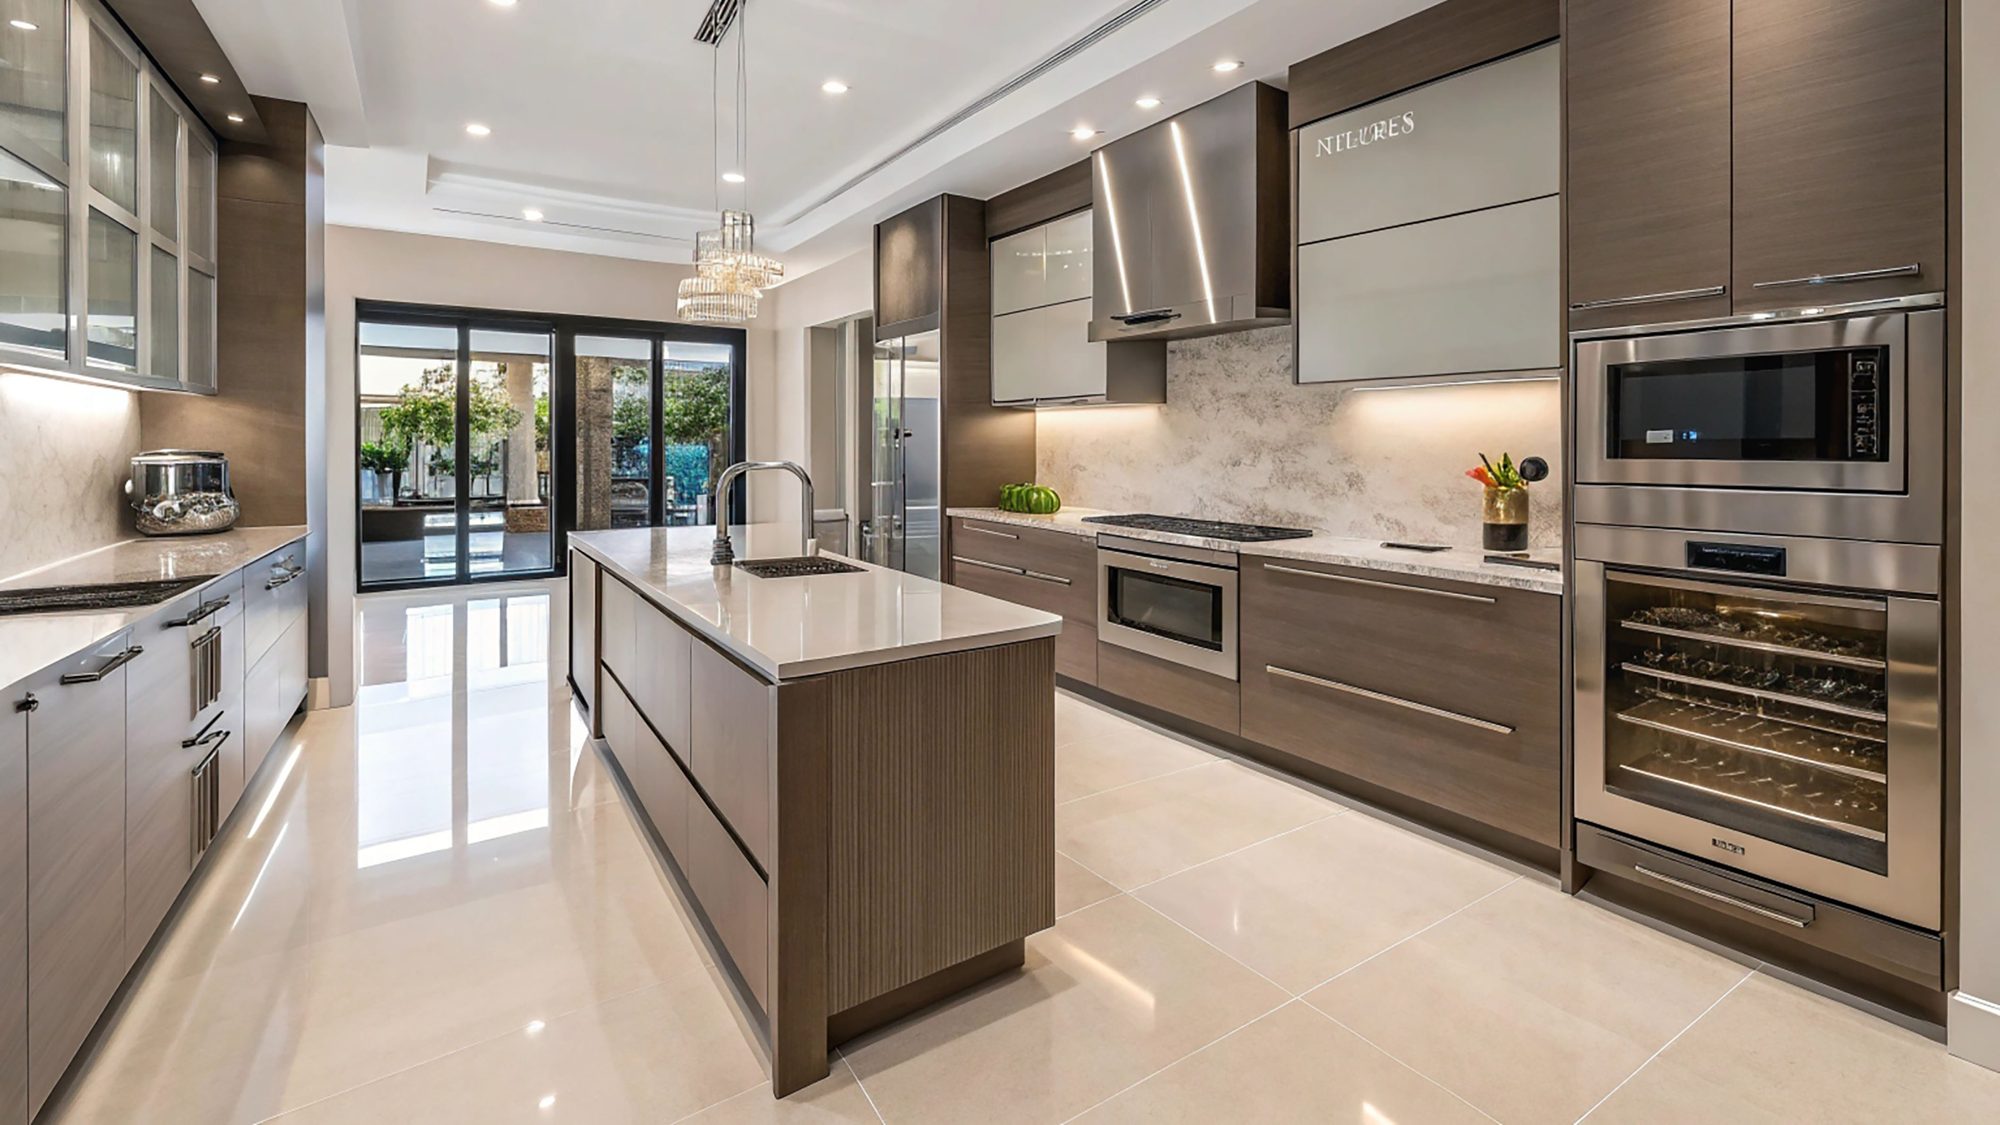
In a kitchen, consider splashes, grease and the cleaning products you normally use. Countertop edges, backsplash grout and cabinet surfaces all affect upkeep. Review the manufacturer’s care information before committing to a surface.
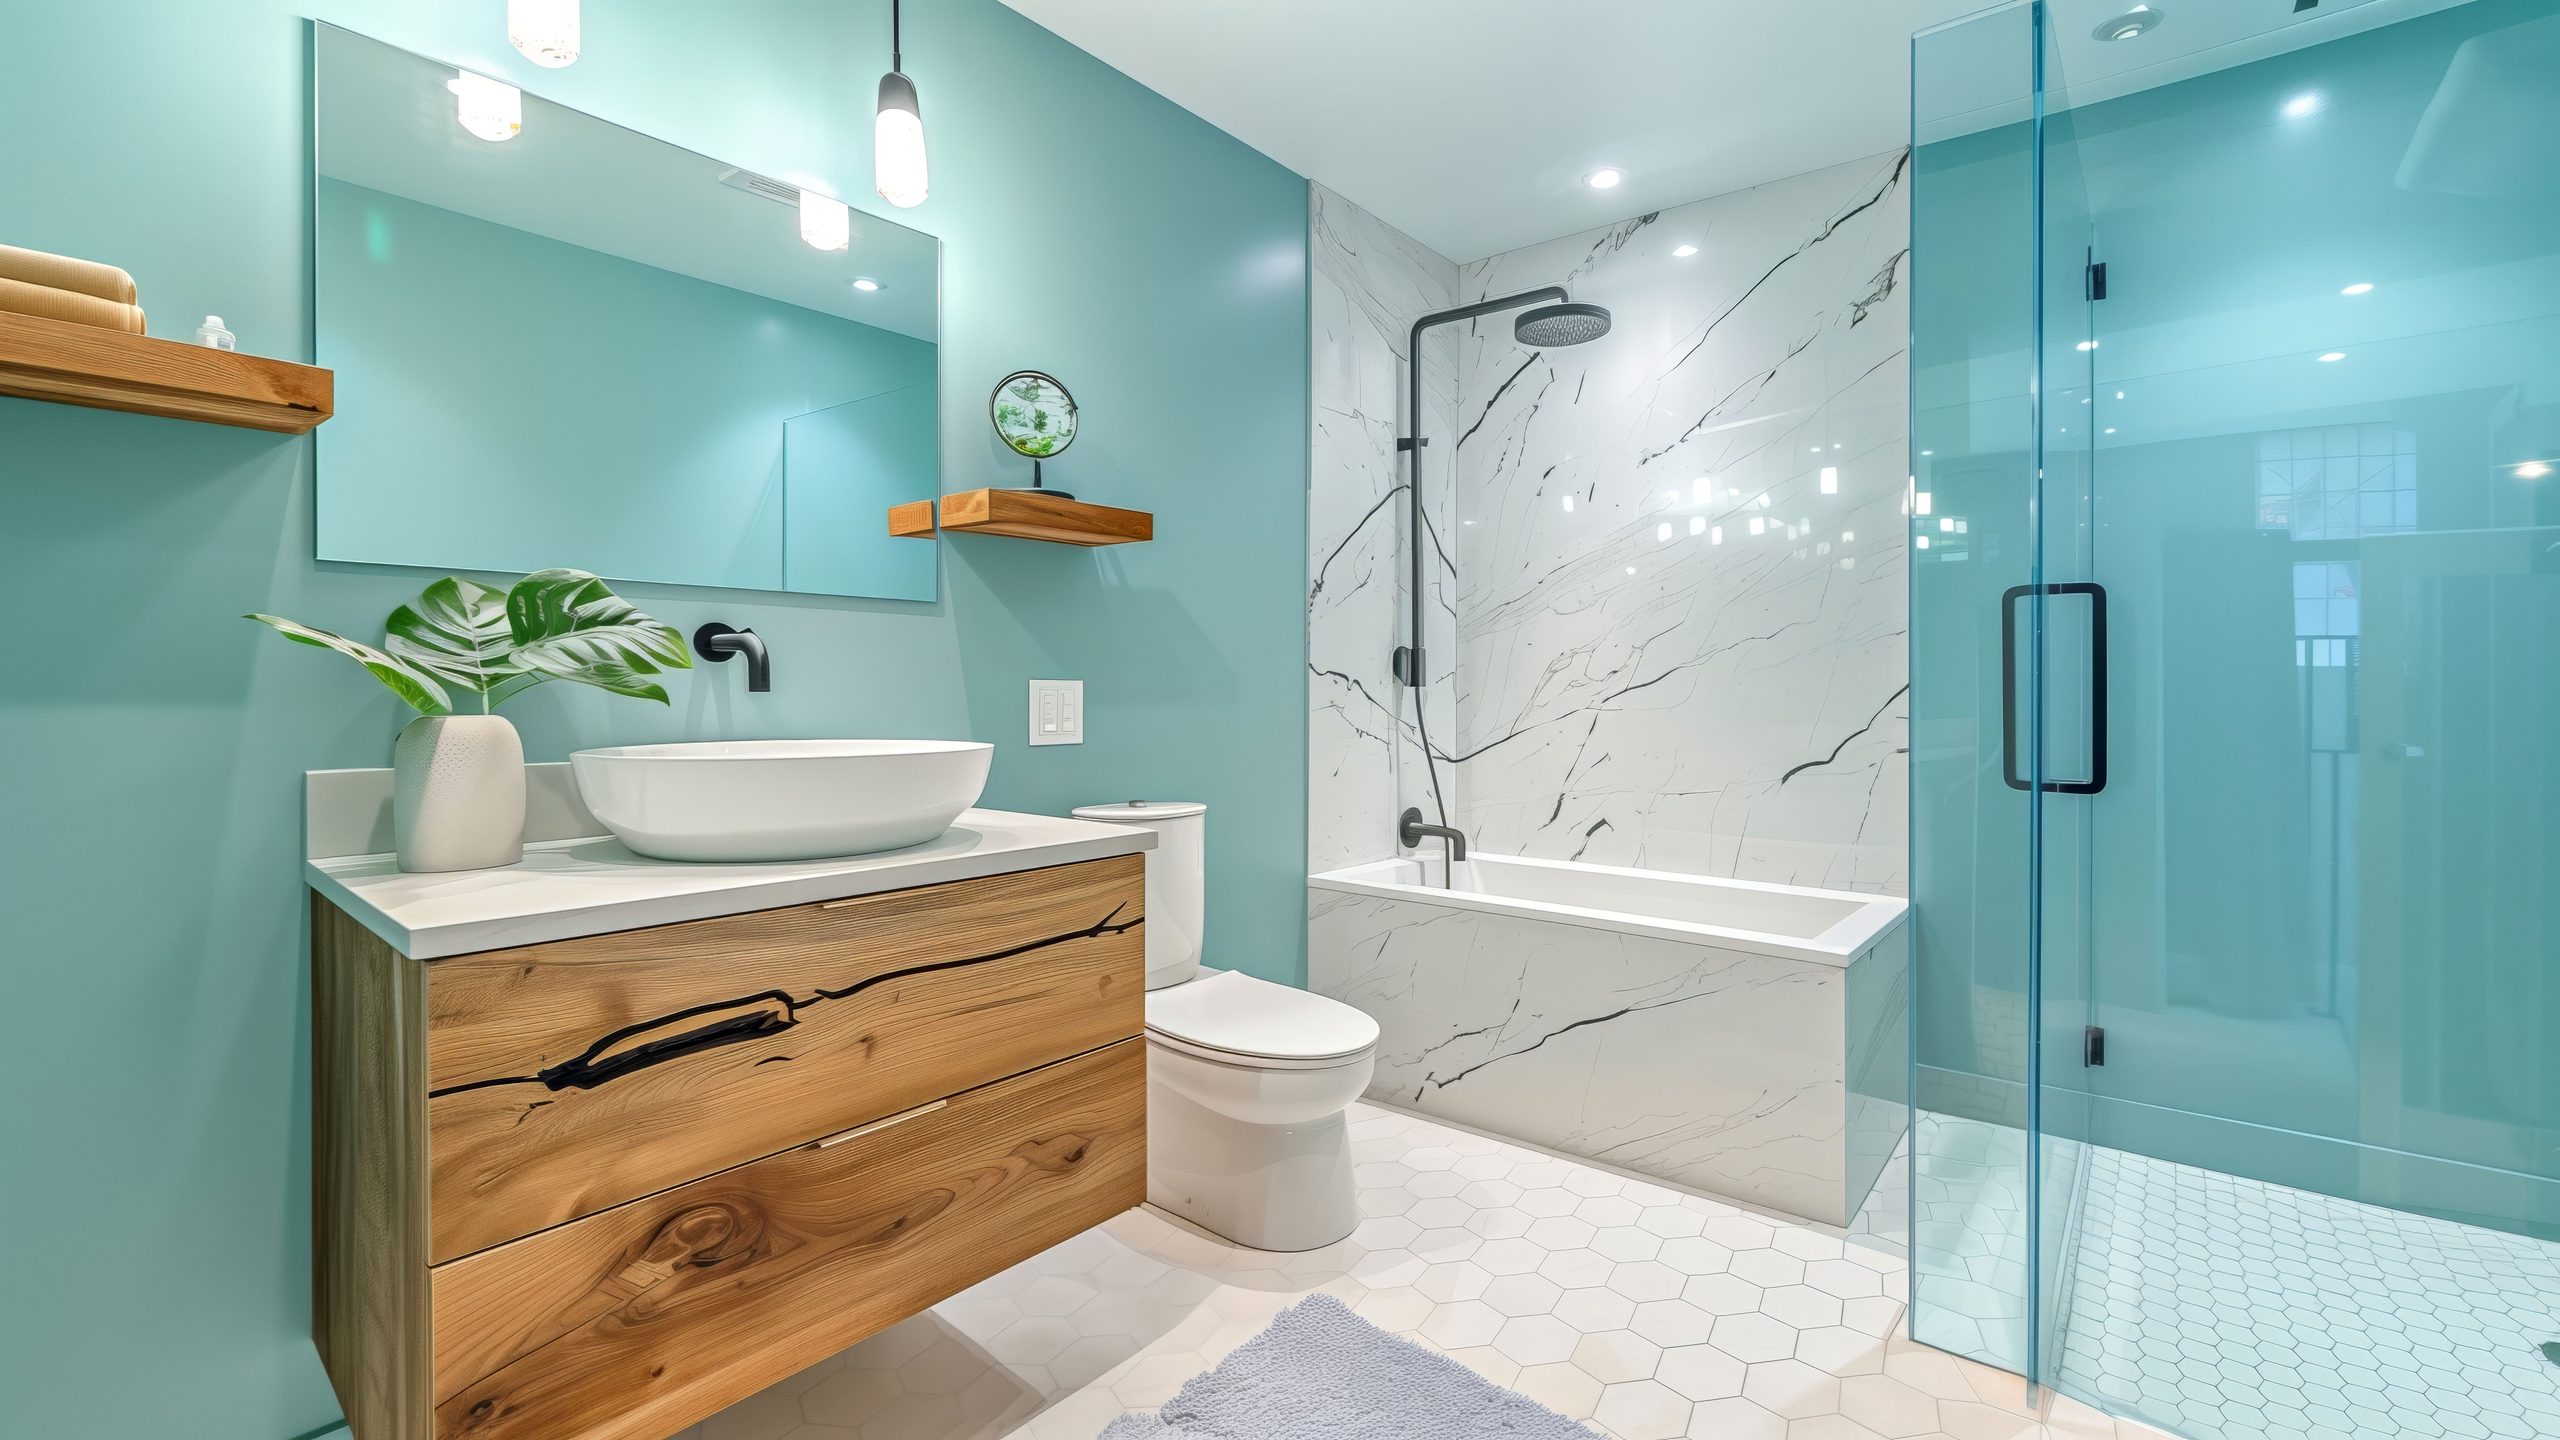
Bathroom selections need to account for water exposure, ventilation and cleaning. Shower materials must form part of an appropriate wet-area assembly; attractive tile alone doesn’t establish waterproofing. Floor choices also deserve attention to traction and the product’s intended use.
Basements need a thorough inspection of existing moisture, insulation and vapour-barrier conditions before new finishes cover them. New or replaced assemblies may have different requirements under the Ontario Building Code.
That assessment should happen before selecting finished wall assemblies or ordering flooring. It connects the visible renovation with the construction work underneath it.
Room-specific needs should guide the selection, while repeated colours and textures maintain continuity. No single material is the right answer for every kitchen, bathroom or basement.
Choose low-emission finishes and plan for indoor air quality
Paints, varnishes, adhesives and some building materials can release gases into indoor air. Health Canada’s information on volatile organic compounds in homes identifies these products as potential sources.
When suitable options are available, look for products labelled low emission or low VOC. Compare information for the actual product you’ll use, including its application instructions and intended location. Your material selection includes adhesives and coatings beneath or above the visible material, not only the surface you see.
Ventilation also belongs in the project plan. Discuss how fresh air will enter, how work areas will exhaust air, and whether the HVAC system needs adjustments during application and curing. The approach depends on the products, weather and construction conditions.
Kitchen and bathroom exhaust fans can help move indoor air outdoors. Their condition and operation matter, particularly when renovation work changes those rooms. Opening windows can also support ventilation when outdoor conditions allow.
A coating can feel dry before it’s ready for normal cleaning or use. Follow its curing instructions when planning room access.
If you’re staying in the home during construction, include occupied rooms in the ventilation discussion. Keep product storage, application areas and living spaces in mind rather than focusing only on the newly finished room.
Plan the return of furniture and everyday use around product instructions, too. Freshly coated cabinetry or painted trim may need different handling than an unfinished surface. Those details affect how soon you can resume normal routines.
Finally, retain the product labels and care information. They provide useful directions for touch-ups, cleaning and future work. Indoor air planning is easier when the finish schedule records what went into each room.
Plan finish selections with UPPERAVENUE Construction Inc.
Flooring thickness can affect door clearance. A countertop selection can also influence cabinet dimensions and backsplash details. Review these connections while changes are manageable.
Review samples, the finish schedule and project details together
A finish schedule records what belongs where. It should list the selected product, colour, size and finish, along with its location. Include grout colours, trim paint and transition pieces, since these details affect the completed appearance.
A useful schedule connects each selection to practical project details:
| SELECTION | DETAILS TO RECORD |
| Flooring | Product, room, installation direction and transitions |
| Paint | Product line, colour, sheen and surface |
| Tile | Size, layout, grout colour and location |
| Cabinets | Door style, surface finish and hardware |
| Countertops | Material, edge profile and backsplash relationship |
The schedule becomes a shared reference for ordering and installation, while samples help establish the intended appearance.
For cabinetry and other composite-wood selections, material composition also matters. Health Canada’s guidance on formaldehyde in your home identifies pressed-wood products as possible indoor sources.
We can review selections alongside project details and sourcing responsibilities. Record agreed alternatives before ordering, especially when a substitution would change dimensions or installation requirements.
Document any later selection change and its effect on scope, cost and sequencing. This keeps each product choice connected to the work it requires.
Ask for a project-specific estimate before work begins

For Toronto-area homeowners, a whole home remodel starts with a discussion with a contractor. Bring your goals and details about the existing home.
We offer free estimates and conduct an on-site inspection, so you can discuss the proposed work with our team before construction begins. Ask whether permits or an inspection are required for the proposed scope. Requirements depend on the work and local rules. The estimate conversation should cover the rooms included, preparation work, finish allowances and who will source selected materials.
Explain your household needs during that discussion. Staying in the home, planning around family routines or retaining existing cabinetry can affect how finish decisions fit the project.
After the work, UPPERAVENUE Construction Inc. offers a follow-up inspection, maintenance tips and support. Keeping the finish schedule and care instructions together gives you a practical reference after the work is complete.

Frequently Asked Questions
How do I choose finishes for a whole home remodel?
Start with how your household uses each room and how much upkeep you’re willing to handle. Set a shared direction for colours and materials, then choose products that suit each room’s practical needs.
What should a finish budget include?
Account for the material, removal, surface preparation, delivery and installation. Ask for a written, project-specific quote that explains preparation work, finish allowances and how selection changes affect the total.
How can I coordinate finishes across different rooms?
Compare flooring, paint, cabinetry and trim samples together in the rooms where they’ll be used. Repeat colours, wood tones or trim profiles across connected spaces, and plan transitions where materials meet.
How can finish choices support indoor air quality?
When suitable options are available, look for products labelled low emission or low VOC, including adhesives and coatings. Plan ventilation during application and curing, follow product instructions for room access, and keep labels and care information.
Bring Your Finish Plan Together Before Construction
The best finishes balance appearance with daily use and upkeep. A coordinated palette gives the home continuity, while room-specific choices address cleaning, moisture and comfort.
Consider indoor air quality alongside colour and texture. Then document products, sourcing responsibilities and installation details before construction begins.
At UPPERAVENUE Construction Inc., we can help connect your finish plan with the broader renovation scope. Contact our team to discuss your whole home remodel goals and request a free estimate.